A running toilet can be a real annoyance, not to mention a waste of precious water and money. The sound of water constantly trickling into the bowl can be distracting, and it's a sure sign that you have a problem that needs to be addressed. But, before you call a plumber, consider fixing the issue yourself. It's a relatively simple and inexpensive DIY project that you can accomplish with just a few tools and some basic knowledge.
Here's a step-by-step guide on how to fix a running toilet:
Step 1: Identify the problem
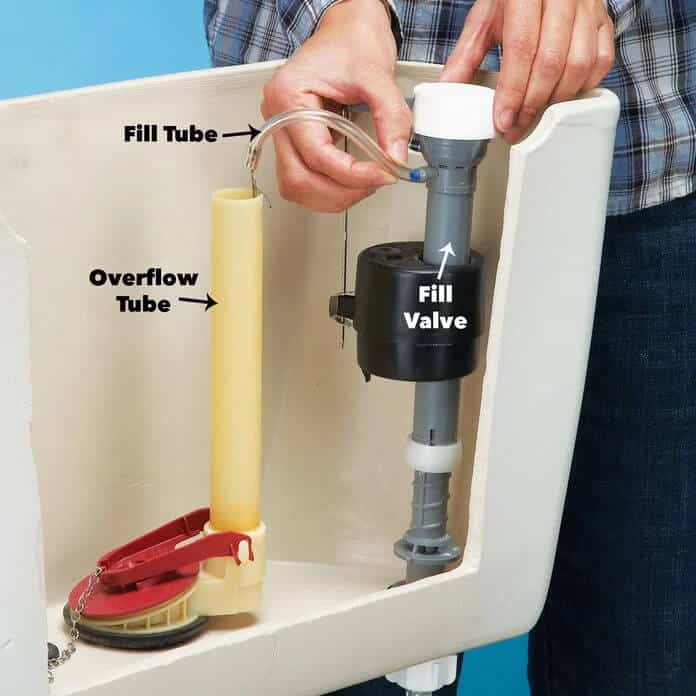
The first step to fixing a running toilet is to determine what's causing it. There are several parts that can cause a toilet to run, including the flapper, chain, and fill valve. The flapper is a rubber seal that sits on the bottom of the tank and covers the hole that leads to the bowl. The chain connects the flapper to the handle and helps lift the flapper to allow water to flow into the bowl. The fill valve is responsible for refilling the tank with water after each flush.
Step 2: Turn off the water supply
Before you start working on your toilet, you need to turn off the water supply. This will prevent any water from entering the tank while you're making repairs. The shutoff valve is usually located behind the toilet or near the wall. If you can't find it, turn off the main water supply to the house.
Step 3: Flush the toilet
This step is optional, but it can make the repair process easier. Flushing the toilet will lower the water level in the tank, giving you better access to the components.
Step 4: Replace the flapper
If you suspect the flapper is the problem, lift it out of the tank and replace it with a new one. Make sure the flapper is properly positioned on the overflow tube and the valve seat. You can purchase a replacement flapper at any hardware store.
Step 5: Fix the chain
If the chain is the problem, check to see if it's too long or if it's caught on anything. Adjust the chain length as necessary and make sure it's not kinked. You may need to use pliers to help straighten out any kinks in the chain.
Step 6: Replace the fill valve
If the fill valve is the problem, turn off the water supply and remove the old fill valve. Replace it with a new one and tighten all the connections. Make sure to follow the manufacturer's instructions carefully.
Step 7: Test the toilet
After making the repairs, turn the water supply back on and let the tank fill up. Then, flush the toilet to make sure it's working properly. If the toilet is still running, check the flapper and chain to make sure they're properly positioned and functioning. If you've replaced the fill valve and the toilet is still running, the problem may be with the float or the valve itself.
In conclusion, fixing a running toilet is a simple DIY project that can save you time and money. With a few basic tools and some knowledge, you can easily fix a running toilet and enjoy a quiet, functioning toilet in no time. If you're still having problems, it may be best to call a professional plumber for assistance.
